SCDM网格|02 汽车

本文摘要(由AI生成):
本文介绍了使用SCDM软件进行2D汽车外流场网格生成的基本流程。首先,通过读取几何文件并命名边界,然后构建和切割初始块以匹配几何模型。接着,关联块并指定尺寸,最终生成网格。生成的网格通过Workbench自动导入到Fluent中进行流体动力学分析。设置边界条件后,模拟计算得出汽车外流场的速度和力分布,为汽车设计和性能分析提供了有力支持。
本案例演示利用SCDM进行2D汽车外流场网格生成的基本流程。
注:案例几何来自ICEM CFD的Tutorial文档。
”
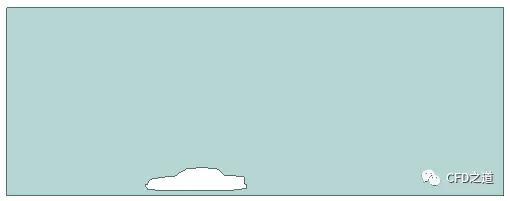
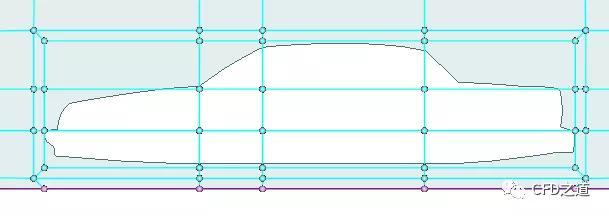
启动SCDM,读取几何文件car.tin,几何模型如下图所示
1 边界命名
进入群组选项卡中选择相应的几何边界,点击选项卡中的创建NS按钮为边界命名。下图为命名完毕后的几何边界。

注:建议在创建Block之前进行边界命名。
”
2 构建初始块
对于2D几何模型 ,最简单的方式是采用自底向上的方式构建块。然而SCDM中目前仅支持自顶向下构建块。
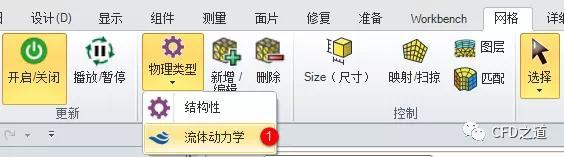
进入网格选项卡,点击按钮开启/关闭

点击按钮物理类型,选择子按钮流体动力学
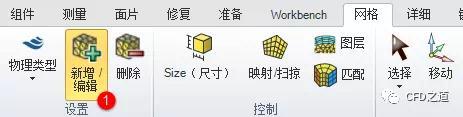
点击按钮新增/编辑
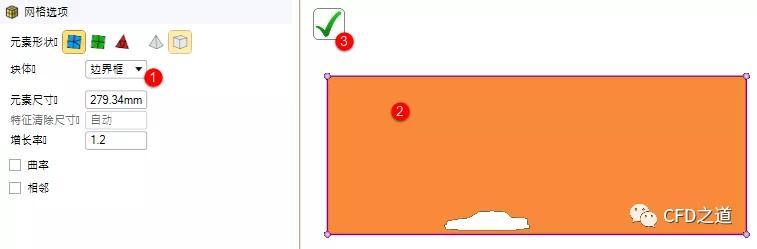
图形窗口中选择几何模型,属性窗口中设置块体类型为边界框,点击确认按钮创建初始块
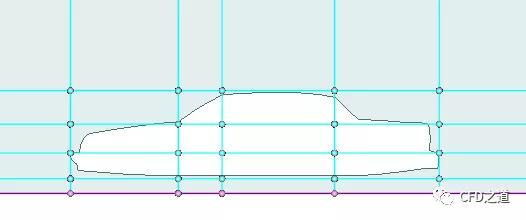
3 切割块
按照几何拓扑,本案例几何需要一个类似T型的块,因此可以先切割出一个T型块,之后再进行关联。
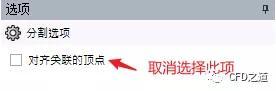
点击按钮分割

取消选项窗口中的对齐关联的顶点选项
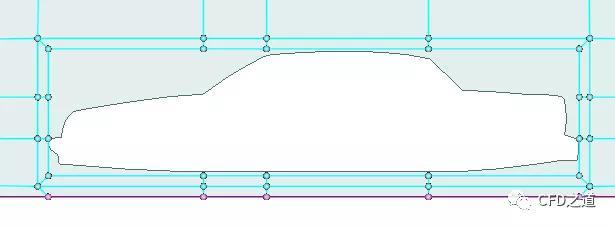
图形窗口中对块进行切割,这里切割尺寸任意,车身周围形成的切割形状如下图所示
选择按钮图层
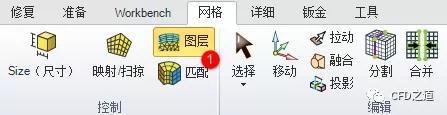
按下图所示顺序进行操作
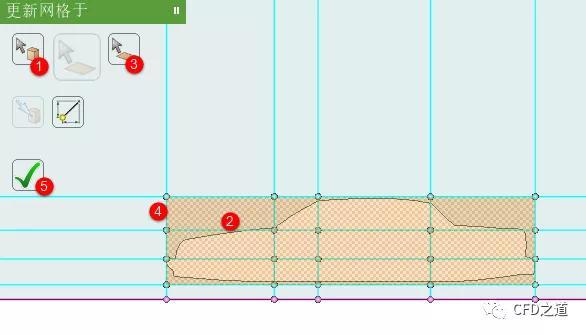
生成的块如下图所示
删除多余的块,删除完毕后如下图所示
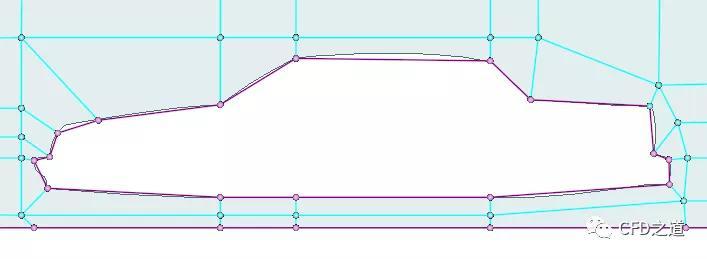
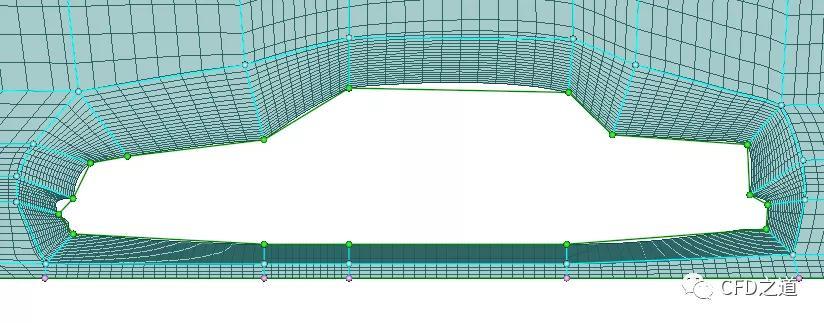
移动顶点,使块形状更贴近几何结构,顶点不够的话自己切割块添加,最终车身部位的块如图所示
4 关联块
点击按钮关联
二维模型中的所有几何边都需要与块进行关联,必要的时候可以分割边线。
关联完毕后如下图所示
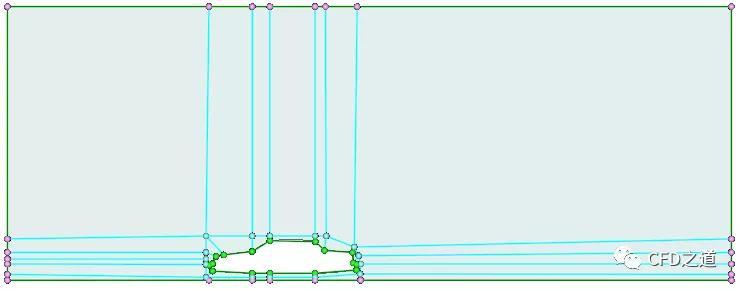
5 指定尺寸
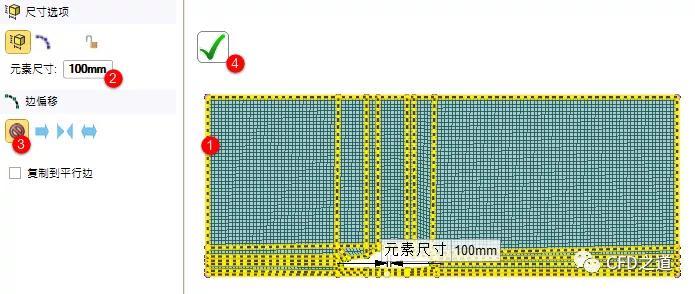
点击按钮Size(尺寸)
 img
img
指定所有的边尺寸为100 mm
计算网格如图所示。
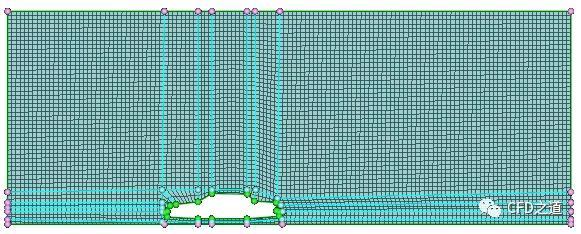
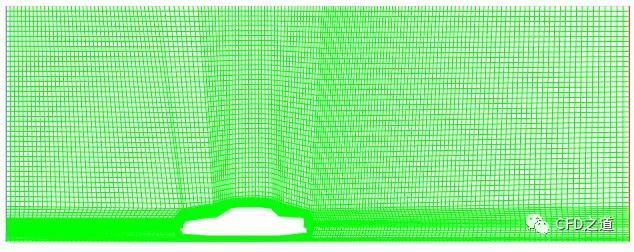
车身周围网格如图所示。
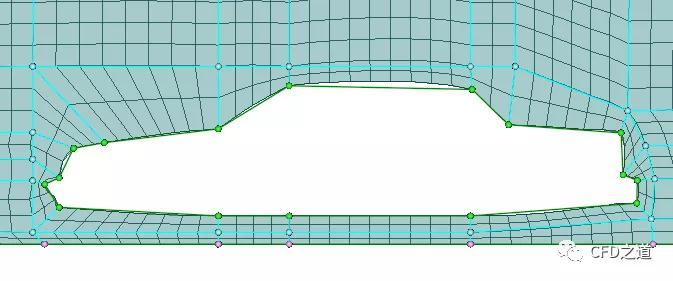
修改尺寸并调整顶点位置,最终计算网格如下图所示。
6 生成网格
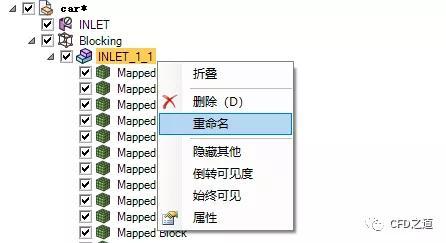
右键选择模型树节点INLET_1_1,点击弹出菜单项重命名,修改名称为CAR_DOMAIN
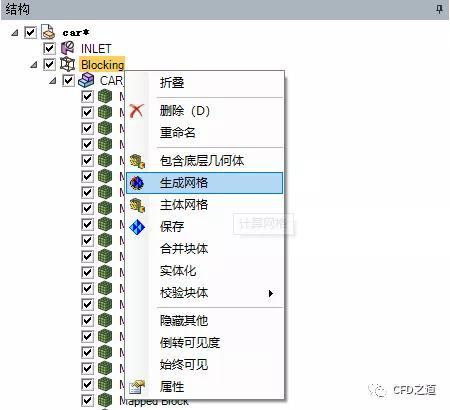
如下图所示生成网格
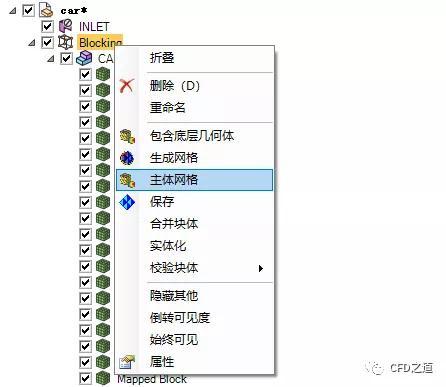
生成体网格
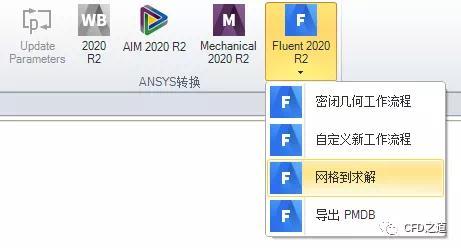
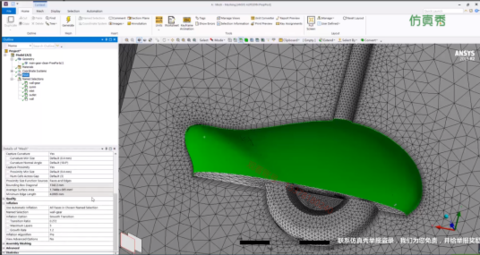
Workbench选项卡中选择Fluent 2020R2 → 网格到求解自动导入网格到Fluent中
在Fluent中显示的网格如下图所示
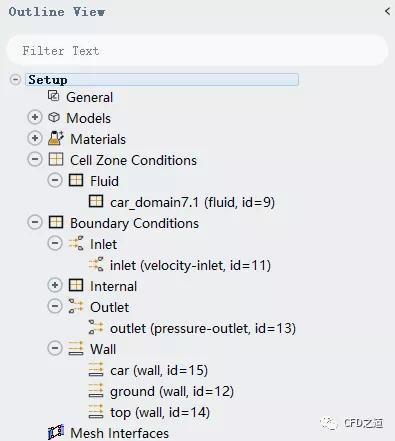
可以查看Fluent模型树,如下图所示,必要的信息都是完整的
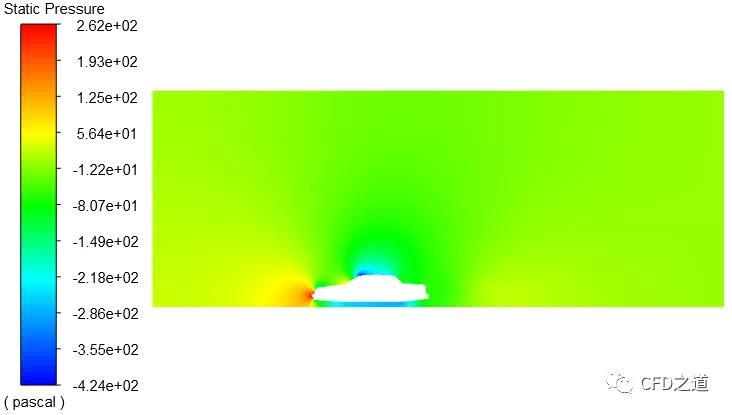
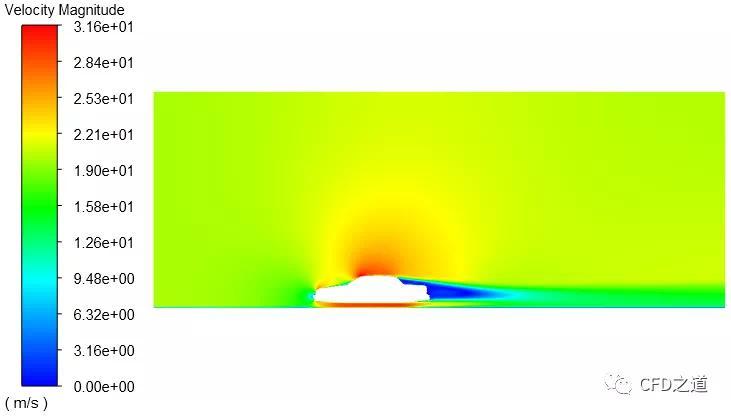
设置inlet速度20 m/s;outlet采用压力出口,静压为零;Top边界采用对称边界。计算完毕后的力分布如下图所示
速度分布如下图所示
登录后免费查看全文
著作权归作者所有,欢迎分享,未经许可,不得转载
首次发布时间:2020-09-10
最近编辑:5月前

博士
|
教师
探讨CFD职场生活,闲谈CFD里外
作者推荐

2条评论

签名征集中
不错

签名征集中
毕业设计急需汽车的2D模型,能不能拜托把那个几何文件car.tin发给我,球球了QAQ!邮箱:1146631549@qq.com
相关推荐
最新文章
热门文章
