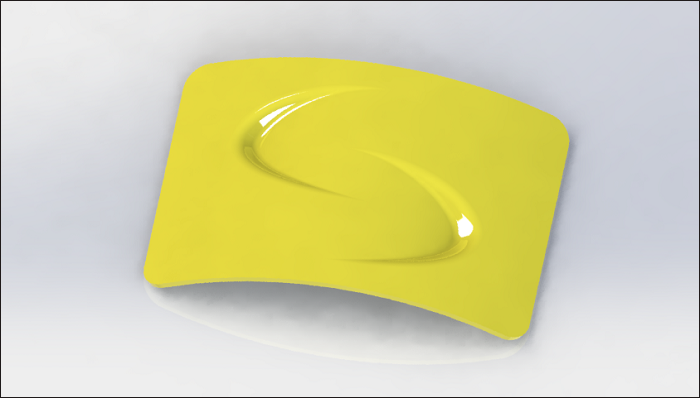
SolidWorks建模练习(110):消失面
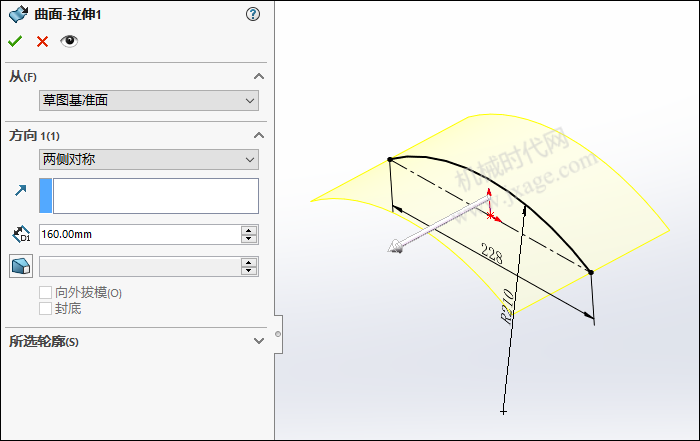
1.点击“插入”-“曲面”-“拉伸曲面”,在前视基准面上绘制如下图所示的草图。
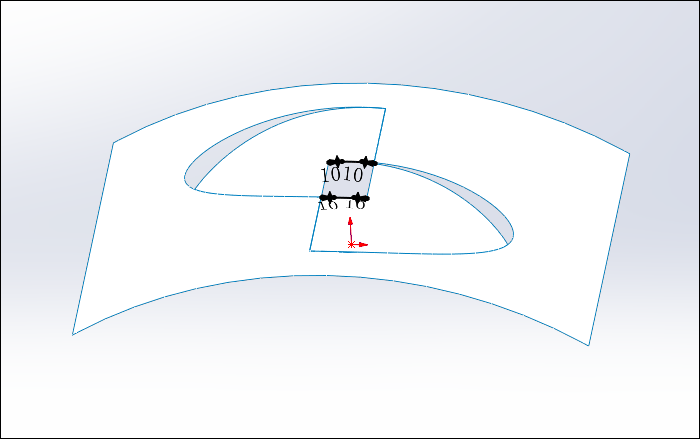
2.点击草图绘制,在上视基准面上绘制如下图所示的草图。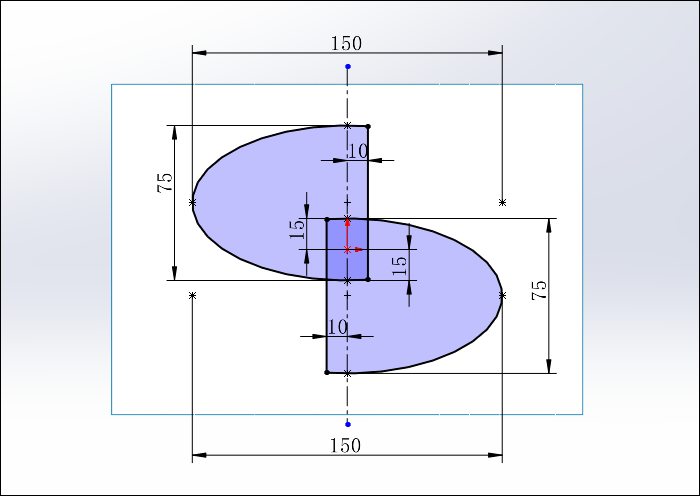
3.点击“插入”-“曲面”-“剪裁曲面”,剪裁类型选择“标准”,选择上一步创建的草图作为剪裁工具,对下图所示的曲面进行剪裁,移除紫色部分,如下图所示。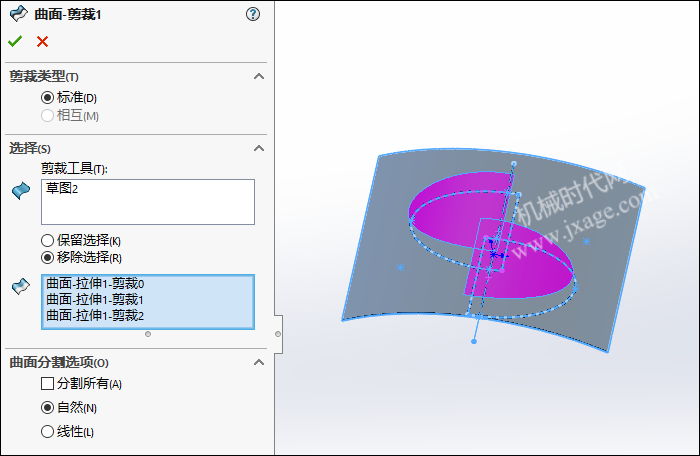
4.点击“插入”-“曲面”-“拉伸曲面”,在前视基准面上绘制如下图所示的草图。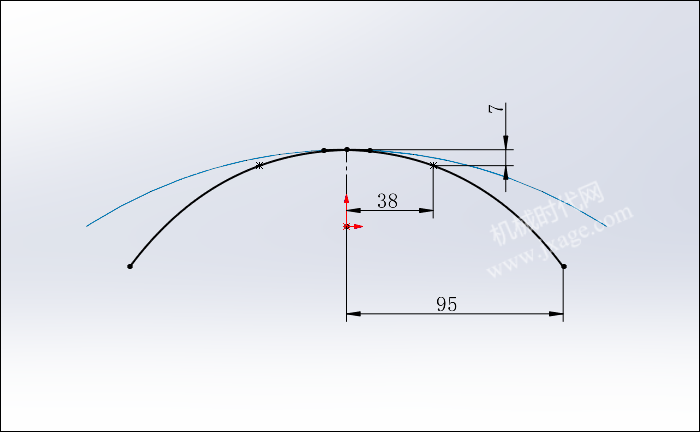

5.点击“插入”-“曲面”-“剪裁曲面”,剪裁类型选择“标准”,选择草图2作为剪裁工具,对上一步的拉伸曲面进行剪裁,移除紫色部分,如下图所示。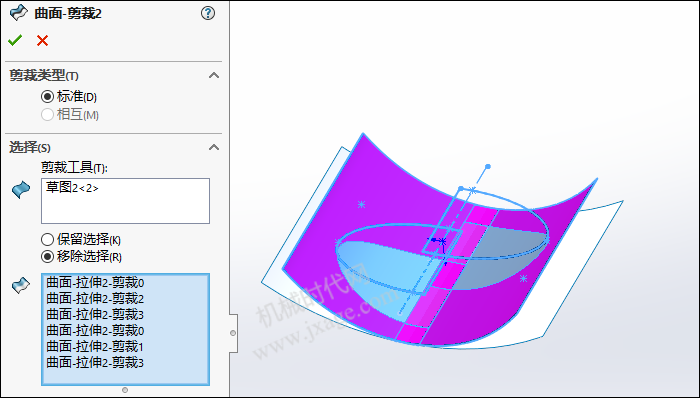
7.点击“插入”-“曲面”-“填充”,选择下图所示的左右两条边线和上一步创建的3D草图作为修补边界,曲率控制按照下图进行设置,点击勾号完成。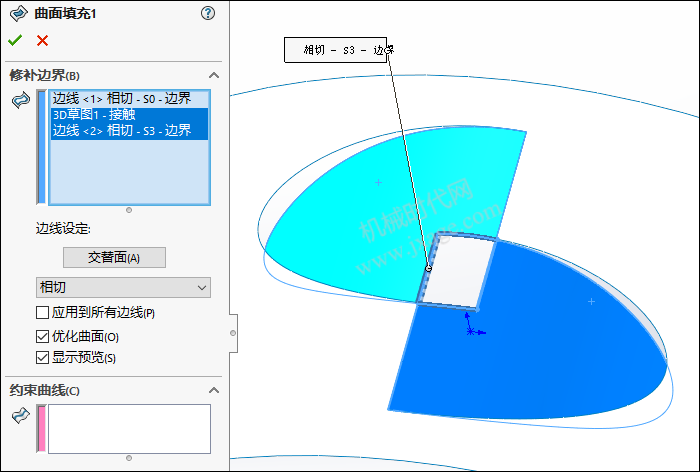
10.点击草图绘制,在基准面1上绘制如下图所示的草图。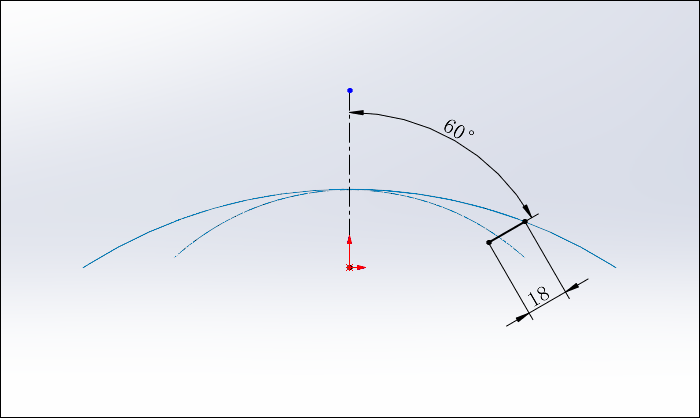
11.单击“插入”-“曲面”-“扫描曲面”,选择下图所示的粉红色的边线作为扫描的路径,选择上一步创建的草图4作为扫描的轮廓,如下图所示。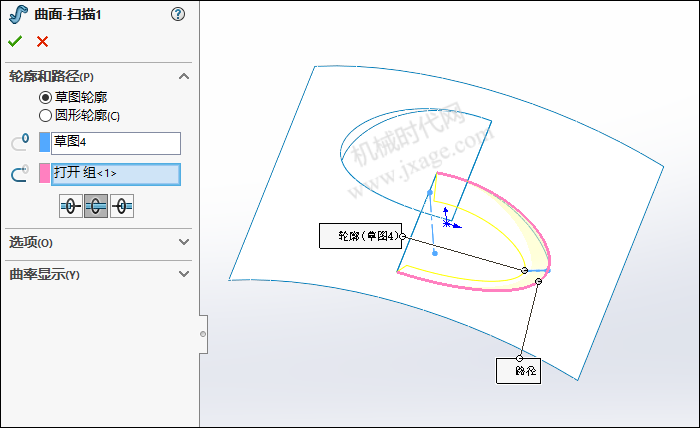
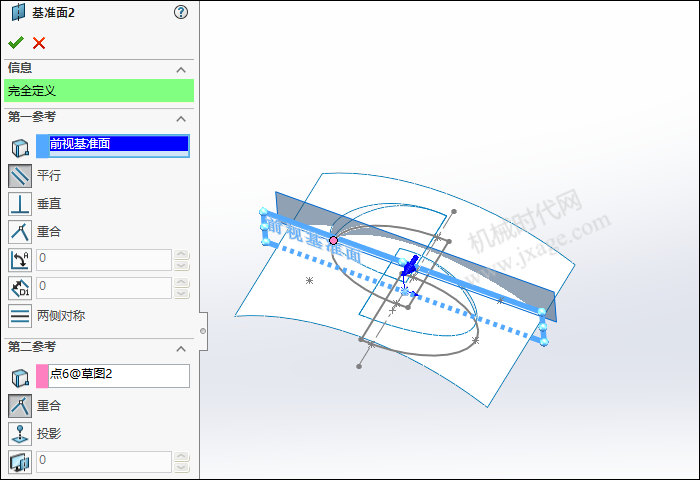
12.点击草图绘制,在基准面2上绘制如下图所示的草图。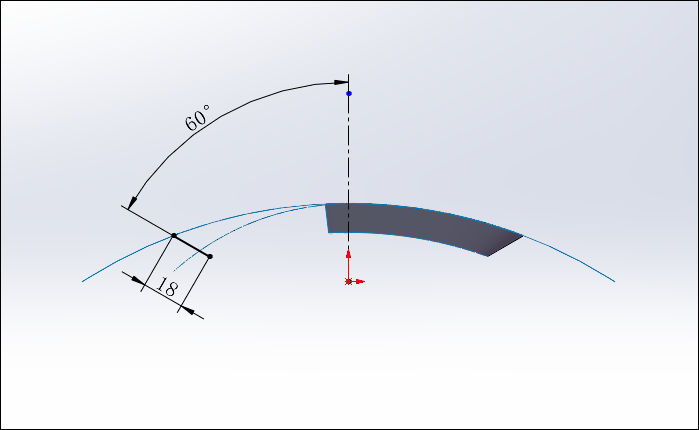
13.单击“插入”-“曲面”-“扫描曲面”,选择下图所示的粉红色的边线作为扫描的路径,选择上一步创建的草图5作为扫描的轮廓,如下图所示。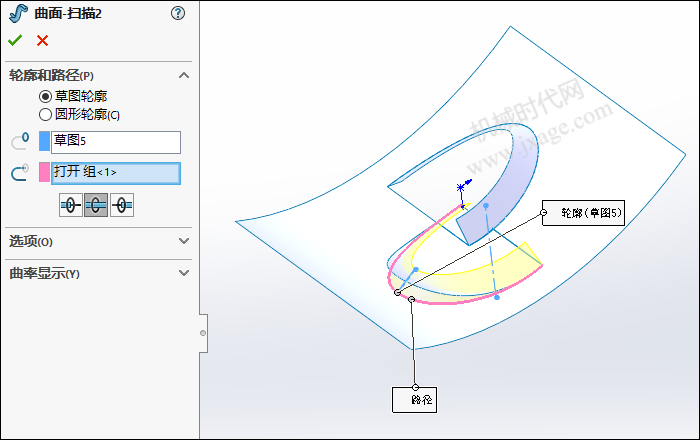
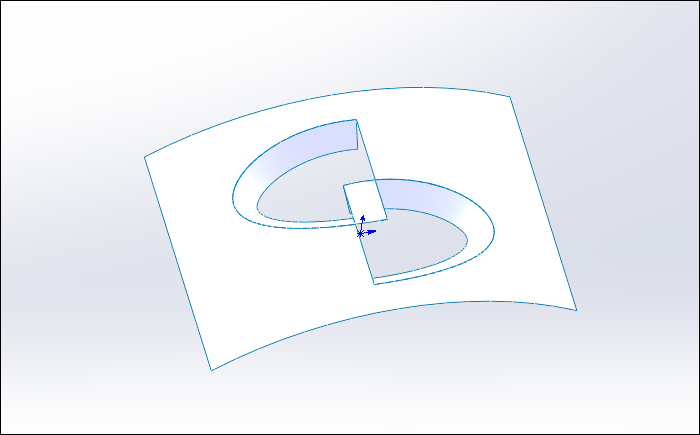
14.点击“插入”-“曲面”-“剪裁曲面”,剪裁类型选择“相互”,选择草图2作为剪裁工具,对下面的曲面进行剪裁,移除紫色部分,如下图所示。
15.点击“插入”-“曲面”-“缝合曲面”,将下图所示的两个曲面进行缝合,如下图所示。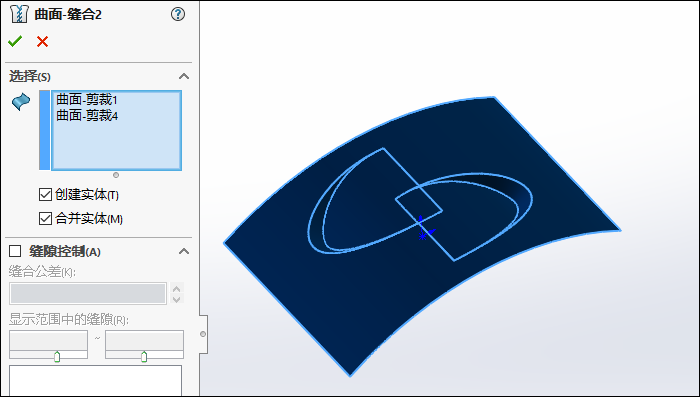
著作权归作者所有,欢迎分享,未经许可,不得转载
首次发布时间:2023-09-18
最近编辑:1年前