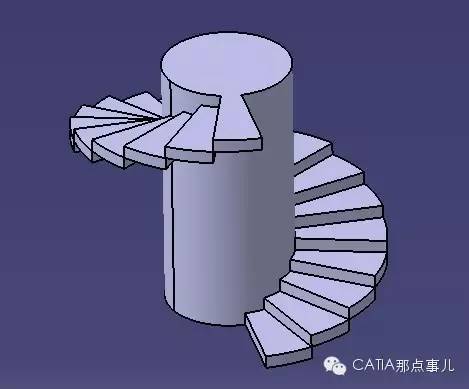
【旋转楼梯】之 参数化建模

导读:大家好,我是小狼老师,这次的主题是旋转楼梯之参化建模,后面会有更多关软件操作的技巧来分享给各位读者,下面简单来跟大家介绍下。
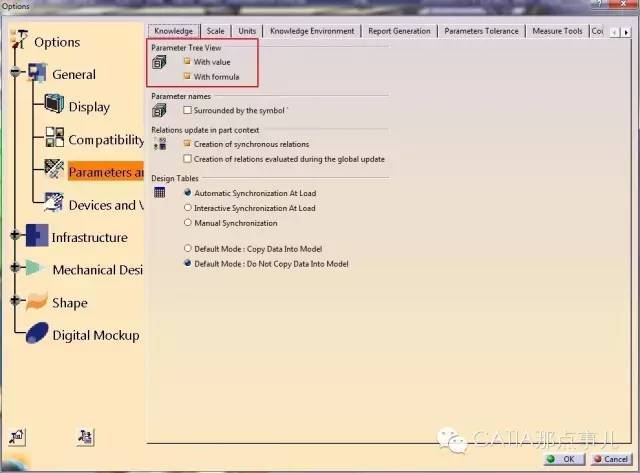
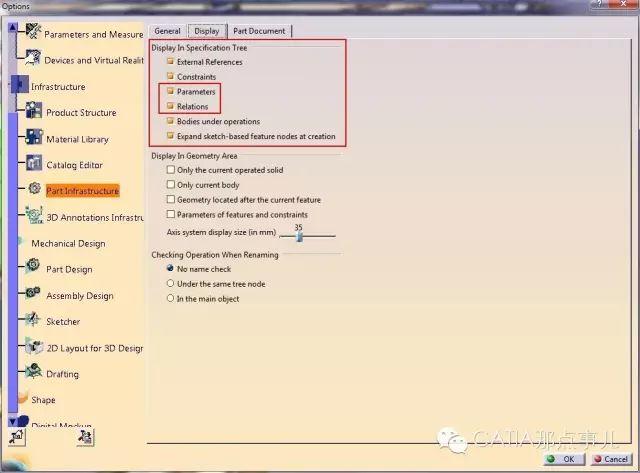
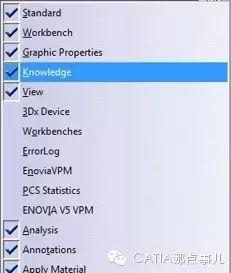
如果有小伙伴看过小编前面推送的文章,就会想起来在软件设置的那篇里,已经说过这个地方啦!没看过的童鞋请查看历史消息,不会查看历史消息的请问度娘。
接下来我们新建一个part文件,然后找到这个工具条
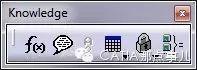

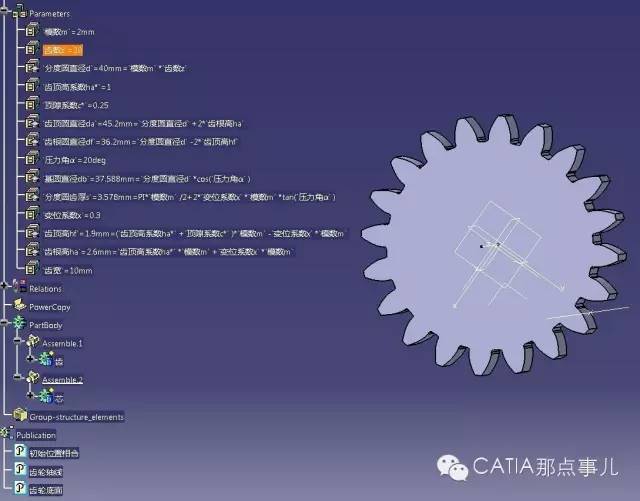
比如,现在我们建立两个参数练练手:
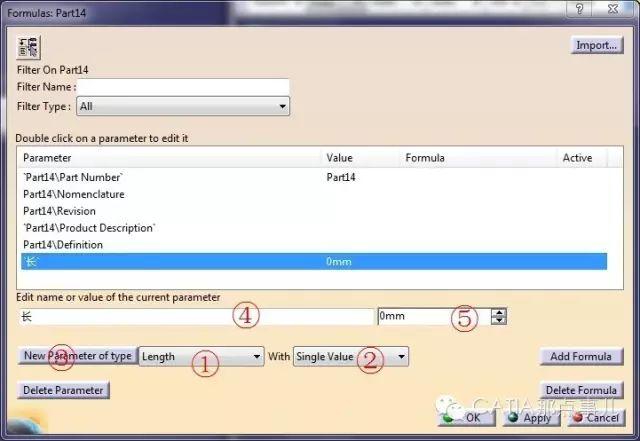
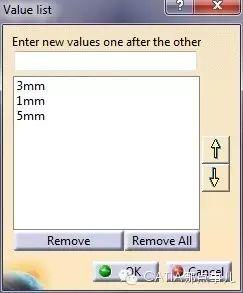
它的意思是,咱们可以为这个参数预设一些值,让用户使用这些参数时,只能从这些值里面选而不能手动输入。在上面的Textbox中(Sorry啊,忘了这不是VB),上面的文本输入区域中输入值后按Enter键或点击右面向下的箭头都可以把值添加到列表中。选中列表区域的值后用右面的箭头按钮,也可以对这些值排序。
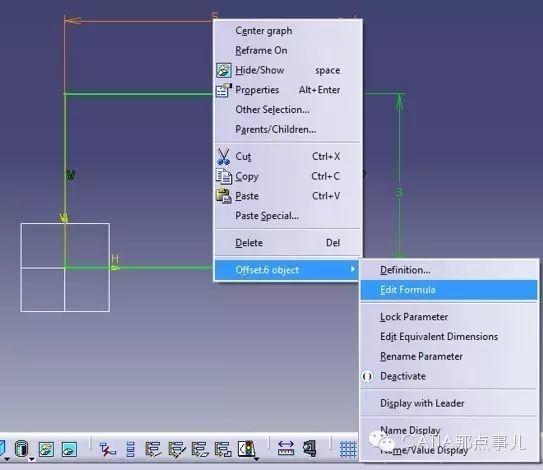

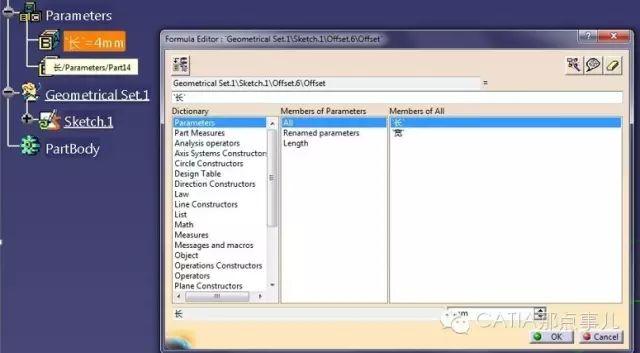
我们在保证光标处于输入位置的情况下,在特征树上点击参数,该参数就与这个尺寸发生了关联。这里,建议大家在使用参数的时候,尽量通过点选的方式,不要自己输入参数名,否则会出现不明错误。
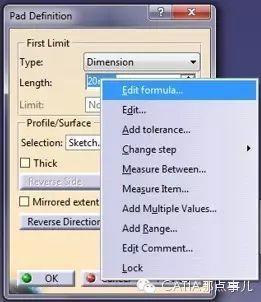
当然,我们可以自己加一些运算,不过一定要:
带单位!!!
带单位!!!
带单位!!!
重要的事情说三遍!
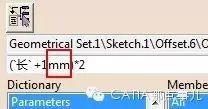
那个mm的单位!!!不知道有多少英雄好汉卡在这个上面了!
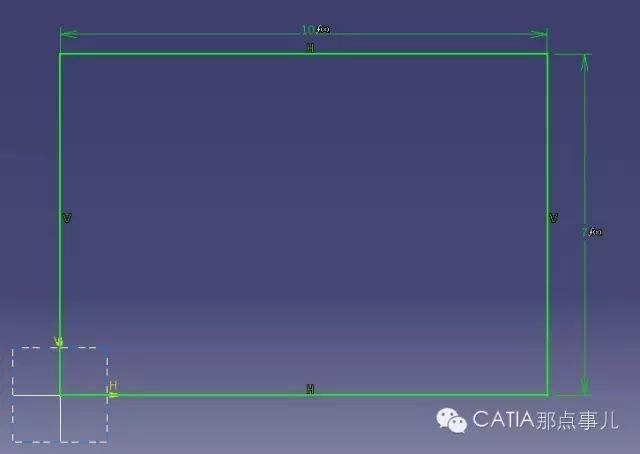
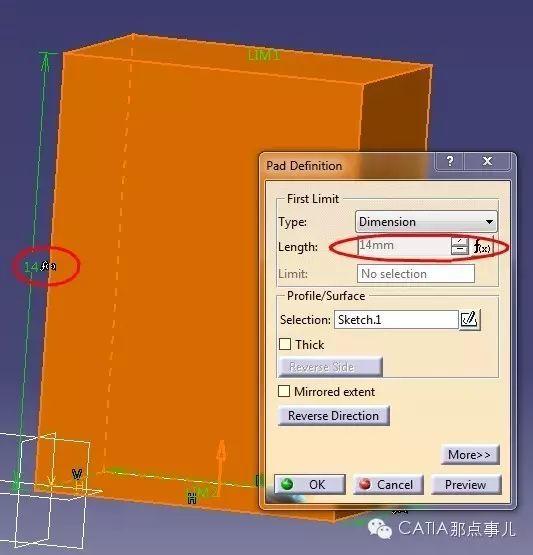
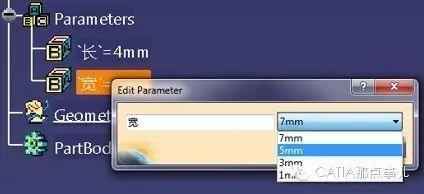
然后我们双击修改参数,模型是会随之更新的。
完
2022卡塔尔世界杯“Al Rihla”新足球模型设计全流程(免费领)(图纸案例001期) 球体上开孔问题与方法总结(图纸案例002期) 4个AutoCAD练习题免费分享(图纸案例003期) SolidWorks世界杯专题曲面案例之球门(图纸案例004期) 如何将Auto CAD中的图形复 制到Office中?免费分享(图纸案例005期) SolidWorks模型与工程图双向修改尺寸(图纸案例006期) solidworks之真实弹簧仿真模拟(图纸案例007期) 砂模铸造工艺介绍以及铸件产品绘制(图纸案例008期) solidworks工程图自动标注尺寸(图纸案例009期) SolidWorks技巧建模-尺子建模(图纸案例010期)

登录后免费查看全文
著作权归作者所有,欢迎分享,未经许可,不得转载
首次发布时间:2024-09-05
最近编辑:7月前

签名征集中

相关推荐
最新文章
热门文章
